
1-Why Choose Drip Irrigation for Your Landscape
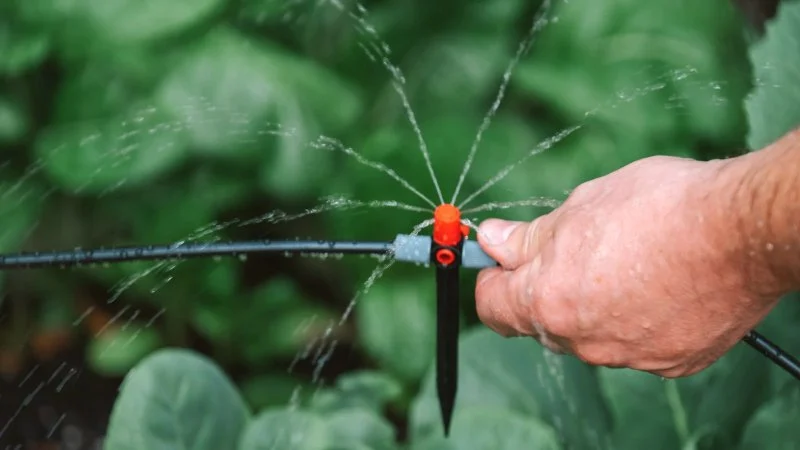
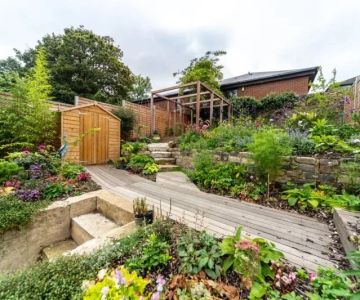
Drip irrigation systems are an efficient and water-conserving way to irrigate your landscape. Unlike traditional sprinkler systems, which spray water over a wide area, drip irrigation delivers water directly to the root zone of plants. This minimizes water waste and promotes healthier plant growth by providing consistent moisture levels. If you have a large garden or want to reduce your water bill, a drip irrigation system is an excellent choice for both your landscape and the environment.

Kasper's Landscape & Design
North LibertyJohnson CountyIowa
585 S Jones Blvd, North Liberty, IA 52317, USA
2-Materials Needed for Drip Irrigation Installation
Before installing your drip irrigation system, make sure you have the right materials. Here's a list of essential items you’ll need:
- Drip tubing: This flexible tubing will carry the water to each plant.
- Emitters: These devices control the flow of water and deliver it to each plant.
- Drip fittings and connectors: These allow you to join the tubing and customize your layout.
- Filter: Installing a filter ensures that debris doesn’t clog your system.
- Pressure regulator: This helps control the water pressure to ensure even distribution.
- Backflow preventer: This device prevents contaminated water from flowing back into the water supply.
These materials can be easily found at your local home improvement store or through online retailers like Beautiful Landscapes, where you can get high-quality components for your system.
3-Steps to Install a Drip Irrigation System
Installing a drip irrigation system may seem like a daunting task, but with the right materials and steps, it can be a straightforward process. Follow these steps to set up your own system:
- Plan Your Layout: Start by mapping out your landscape and identifying the areas you want to irrigate. Plan where the mainline tubing and emitters will go based on plant spacing and water needs.
- Install the Mainline Tubing: Connect the mainline tubing to your water source, ensuring that it runs along the areas you want to irrigate. Secure it with stakes if necessary to keep it in place.
- Attach Emitters: Place emitters along the tubing, directly next to the roots of your plants. Be sure to use the correct size emitters for the type of plants you're watering, as different plants may require different amounts of water.
- Connect Fittings and Connectors: Use the appropriate connectors to join your drip tubing and create the desired layout. You can add branches, bends, and extensions to reach all areas of your garden.
- Install the Filter and Pressure Regulator: Attach the filter and pressure regulator to the mainline tubing to ensure that your system operates efficiently. This will help prevent clogs and maintain the correct water flow.
- Test the System: Once everything is connected, turn on the water and test the system. Check for leaks, ensure even water distribution, and adjust emitters as needed.
4-Common Mistakes to Avoid During Installation
While installing your drip irrigation system, there are a few common mistakes that can hinder the performance of the system. Avoid these pitfalls to ensure a successful installation:
- Inadequate Planning: Failing to plan the layout properly can result in uneven water distribution. Make sure to take measurements and account for plant size, spacing, and water needs.
- Incorrect Emitter Placement: Emitters placed too far from plant roots will reduce watering efficiency. Be sure to position them as close to the base of the plant as possible.
- Using the Wrong Size Tubing: Using tubing that is too small or too large can affect the water pressure and flow. Always choose tubing that is appropriate for the size of your system.
- Not Installing a Backflow Preventer: A backflow preventer is essential for keeping your water supply clean. Never skip this step to avoid contaminating your water source.
5-Real-Life Case: Successful Drip Irrigation Installation
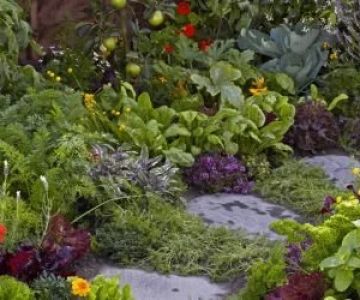
A homeowner in Arizona wanted to create a more sustainable garden by reducing water usage. They installed a drip irrigation system to water their fruit trees and vegetable garden. After following the installation steps carefully, they noticed a significant reduction in their water bills, as the system efficiently watered only the plants that needed it. Their garden thrived, and they were able to save water while enjoying a bountiful harvest. This success story highlights the benefits of drip irrigation when installed correctly.
6-Maintaining Your Drip Irrigation System
To ensure that your drip irrigation system works efficiently over time, regular maintenance is essential. Here are a few tips to keep your system in top condition:
- Check for Clogs: Periodically inspect the emitters and tubing for clogs. Clean them as needed using a small brush or by flushing the system with water.
- Inspect the System: Regularly check for leaks, cracked tubing, or broken connectors. Replace any damaged parts immediately to maintain optimal performance.
- Adjust Emitters: As plants grow, they may need more or less water. Adjust your emitters to meet the changing water requirements of your plants.
- Winterize Your System: If you live in a colder climate, make sure to drain the system before winter to prevent freezing and damage to the tubing.
With proper maintenance, your drip irrigation system will continue to provide reliable and efficient watering for your landscape for years to come.


 H&H Services Incorporated4.0 (7 reviews)
 Best Buds Landscape5.0 (3 reviews)
 Walmart Patio & Garden Services0.0 (0 reviews)
 Nicole Ann Landscapes5.0 (2 reviews)
 Creekside Turf Management, LLC5.0 (103 reviews)
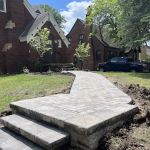 Solid Rock Landscaping LLC5.0 (35 reviews)
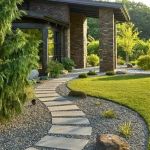 How to Create a Front Walk That Makes a Great First Impression
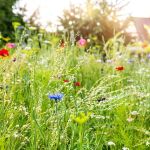 How to Cultivate a Wildflower Meadow at Home: A Step-by-Step Guide
 How to Choose Eco-Friendly Outdoor Flooring Options: Sustainable Choices for Your Garden
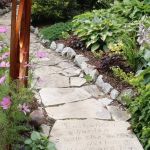 How to Use Stepping Stones to Guide Garden Movement
 How to Build Raised Garden Beds That Last
 How to Build a Pathway That Blends With Nature: A Step-by-Step Guide